Showing posts with label experiment. Show all posts

Friday, June 27, 2014

My Very First Oblique Pen!

Supplies Untitled Oh my glob - oblique pen first-timer ✒️ Practice Practice I saw this quote on Instagram this morning & thought it would be a fun first time experiment with my oblique pen

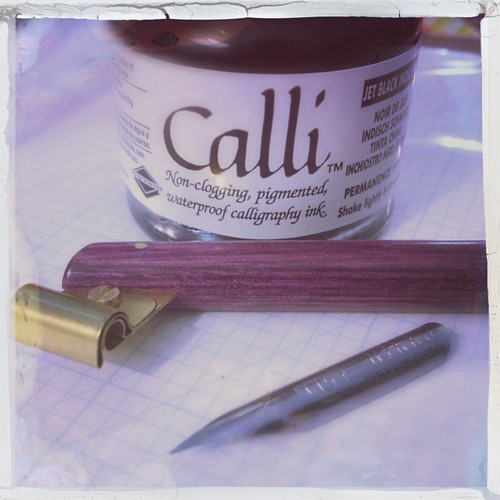
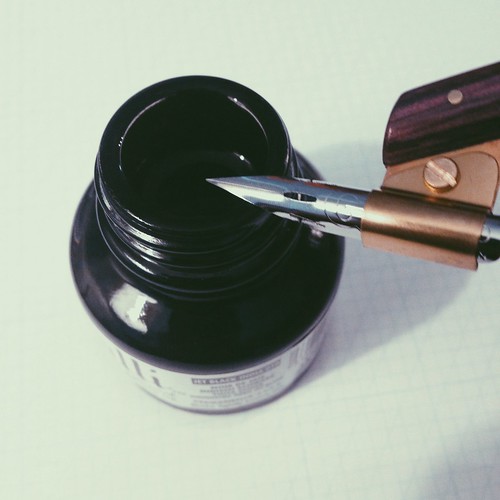
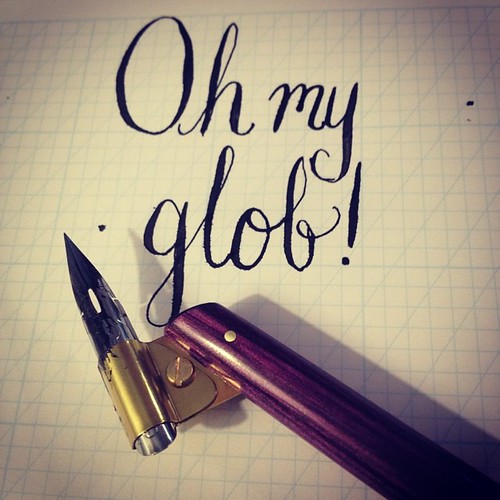
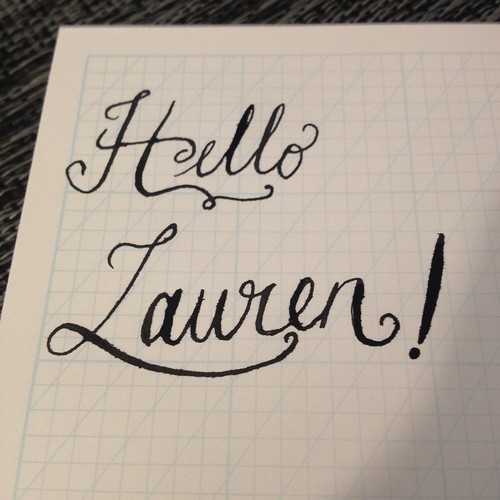
1. My shiny new supplies! // 2.  Ready to go!  // 3. Oh my glob - I'm totally writing all fancy and stuff! // 4. This "Hello Lauren" was one of the first few things I wrote once I got all settled in with my ink and stuff // 5. This "Hello Mom" was in the second set of writing I did // 6. I've been saving quotes around various social media so I can write them out with my new toys.  I saw this one on Instagram yesterday morning and decided to make a little pick-me-up card for my old man

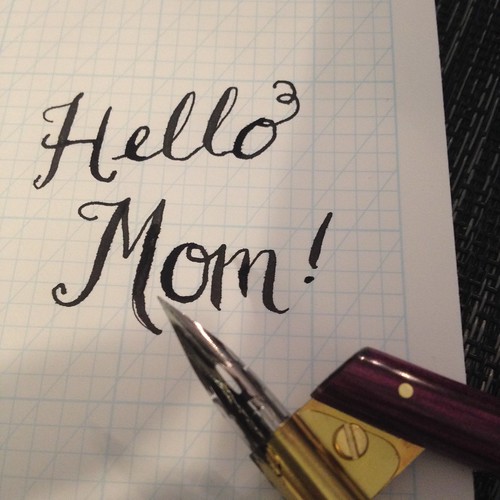
I just had to share!  My supplies came in from Paper and Ink Arts and I think I'm officially even more in love with calligraphy!  I loved the feel of dipping the pen tip into the ink and how just a little bit of pressure changed everything.  Granted, I definitely need more practice before I get really serious but I'm  enjoying the process so far.  These posts have become my new best friend.

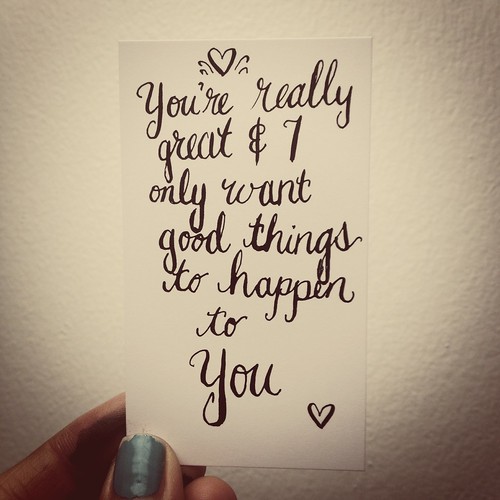
Starting with TPK's Faux Calligraphy really helped me understand script, downstrokes and slants.  It even helped me realize my "personality" through the way my hand moved while creating letters.  I mean, check these out!  These are two of my most favorite envelopes I've ever done with faux calligraphy and watercolors.

More envelope love! More envelope love!

These are both going out very soon and I can't wait for the recipients to get them!!  I'm hoping the response will be good! :)  BTW - I used a mechanical pencil to sketch out the words first and then I went over them with my most favorite pen: the Sharpie Fine Point Pen.

Since my hard drives at work are almost at capacity, I can't really work on anything too strenuous today so I'm watching a lot of progress bars and wishing I could be letting the ink flow!  I printed out more Flourish Formal Worksheets for more practicing over the weekend.  I can't wait!

Happy Friday!

Sunday, January 6, 2013

Weekend Experiment: Water drops

I took my obsession with The Borgias opening and shot some footage that I *hopefully* can use for my freelance project I'm working on.  Check it out!


Water drop experiment

Experiments Drop Drip

I know it's not quite the same but I love how the colored water glides in so sweetly.  Hopefully my client will like it and I can incorporate some of it in the final piece.  If not, I'll be sad but not all is lost!  I'm sure I can find other ways to use it!

How was your weekend?

Monday, October 15, 2012

Adventures with Coffee - The Cappuccino Take 2!

Grounds French Press Hot water Whisk Press Pour Add milk Foam (could be better)

1. El Coqui coffee grounds / 2. My sweet little French Press / 3. Letting the coffee steap with my boiled water / 4. While my coffee was steaping, I warmed some creamer and started whisking / 5. Time to press / 6. Time to pour / 7. Add creamer to the coffee / 8. My foamed creamer (using a whisk and plenty elbow grease)

I think I'm on the right track but I know what I need: a percolator.  Dammit!  If only I could find some place that would sell them...Oh yeah - Bed, Bath and Beyond!  Yep!  They had one and I broke down to get it PLUS an immersion blender.  Why?  Well, it's pretty versatile.  We can make soups, creams, sauces, and most importantly, I can use it to whisk my milk!  W used to make me these AMAZING cappuccinos on random days when I would come visit and she used her immersion blender to make the prettiest foam.  Why it took me so long, I have no idea.  I guess maybe I needed more justification for an immersion blender and, well, Fall = soups, "cream of things" soups and lots of whipped topping for the upcoming pies that I'm sure will be baked.  Cappuccinos just happen to jump in on all the fun on random mornings!  I hope my new experiment works because I can't keep throwing money at the big-chain coffee house and I can't just leave that wonderful coffee that was sent for me to sit and look pretty!  Believe me, I'd much rather throw money at local coffee houses but OTP is severely lacking in the indie coffee department.  Oh well.  I'll be sure to document it and hopefully, it will be a success!

PS - I'm really loving the simplicity of the RTV Film on the Hipstamatic.  Have you downloaded the Rock The Vote FreePak?  You've got until November to snag it!  The combo I used on these photos was: the Tejas Lens (from the SXSW FreePak - another Pak that I love) and the RTV Film

Tuesday, June 12, 2012

Nail Art ADD

After seeing all the fun stuff on various nail blogs and Instagram accounts, I've been feeling rather inspired to try mo things. Maybe I just really want to be a Wah Nails girl but sadly, the Wah Nails crew is in the UK (and sometimes NYC) and I'll admit that I'm not exactly sure how to locate my nearest nail boutique for some sweet nail art (besides Christian at Sugarcoat) and I'm sure there's some Cosmetology School stuff that's involved so, like most things, I take matters into my own hands and just do it myself.
While I enjoy a proper mani with the soaking and the cuticle oils and all that, I like the fact that when I do it myself, my indecisive Libra nature isn't holding any other appointments back. No, I don't know how to execute the proper mani because I don't get proper manis on a regular basis - which could be why my cuticles look mangled most of the time...
So now since there's nothing on TV this summer, I've been left to my own devices. I could write more music but I haven't been feeling that inspired, unfortunately. After scrolling through my nail art-heavy Instagram feed, I decided I'd do a potpourri of nail art. A walking nail wheel, perhaps. I think I described it the best when I was with Lauren on Friday night. I told her I'd probably redo my nails on Saturday but she said I should keep them and I said I felt like an old lady who put on all of her jewelry before leaving the house. I'll show you what I mean.
Here's my right hand

Pinky: Pink / blue gradient
Ring: Galaxy
Middle: Googley eyes
Index: Pink / black / white polka dots
Thumb: Purple / gold gradient

And here's my left hand

Thumb: Galaxy
Index: Pink / blue gradient
Middle: Purple / gold gradient
Ring: Pink / black / white polka dots
Pinky: Red and navy "Dalton Academy" heart

I had every intention of making them match but I didn't want them to be too matchy matchy (if that makes sense). And I saw that the Glee 3D concert movie was on HBO so I fast forwarded to the Dalton Academy section and felt compelled to have one Dalton Academy nail (my pinky on my left hand). But I only wanted one. So what should I do on the corresponding finger on my right hand? Enter the green base with the "googley eye" pattern. I was feeling very inspired by one of the people I follow on Tumblr and Instagram who has a very impressive googley eye collection: photographer Chloe Rice.
If you haven't checked out her stuff, you're seriously missing out! Her work is always great and funny and just entertaining overall. And she's got tons of googley eye adventures. I like the way the nail turned out so much that I think I might mix the googley eye nail with the pink, black, and white polka dot nail for another mani... PS - Chloe liked it too!  Fangirl moment!
It looks like I'm getting the hang of the lovely gradient mani as well. It still needs more work but it's definitely better than my first attempt.  I think the flaw in my first attempt was that the colours were too close to each other. Either way, I'm happy with the purple / gold and the pink / blue variations.
The pink / black / white polka dots were cute and girly and the galaxies are always fun to do.

I'm thinking of maybe learning the mani basics and possibly extending my nail art adventures to nails other than my own.  I can't do every design but I learn quickly!  Who wants their nails done?

Monday, May 14, 2012

Filming shenanigans and experimentations

During the craziness that was OCT12 filming, Jeremiah, Brad and I did some experiments based on photographer Natsumi Hayashi.


I had never seen these photos before so it was really fun trying out this levitating technique. Since I couldn't partake in all the jumping (because of my knee injury), I got behind Jeremiah's lens and yelled a bunch of jumping cues to Brad and Jeremiah.

Brad and Jeremiah 1
Why they were wearing their jackets, I have NO idea because it was freakin' hot outside!

I couldn't begin to tell you what was happening in this photo but here it is anyways:
Brad and Jeremiah 2


Jeremiah Jump

Once were were all nice and sweaty, we moved the party indoors and I had this great idea to shoot for a gif.  While I'm having technical difficulties uploading the Photoshop gif (of course I am), here are two Gif Shop gifs we made on my phone:


And when everyone was tired with me yelling at them to jump at just the right time, we switched over to fashion / silly / muse mode - which was basically me laying all over the stage and take extreme closeups of Jeremiah and Brad.

I especially enjoy this photo of Brad
Brad

And I got Jeremiah to channel his inner Josh Hutcherson via this pose:
Jeremiah

I also got Jeremiah to channel his inner director by testing out his "Director's Point".
Jeremiah's Director's Point

Hopefully I'll get my other gifs to cooperate and in the mean time, I'll think of more shenanigans to try out. Heck - we might even take it on the road! Like, say, to a certain skate park since it's warm enough. We'll see...

Friday, April 13, 2012

Photo Mash-up #2

Remember how I told you I was doing photo mash-ups with one of my Flickr friends? Well, after many days of lamenting at my own lack of creativity and trying to brush off my monthly (it might be turning into weekly) existential crisis, I was able to decide on which photos would be my #2 for No More Sideburn Bob.

NMSbB sent me his #2 (and #3) forever ago and I felt bad for not sending him one back. I sent him this pathetic sounding email saying "I'm trying to think of better shots for this project since I feel like most of my surrounding are a little boring..." Typical me. But that's part of my existential crisis - I'm thinking I want new surrounding. You know, like a new skyline perhaps??? We'll see.

ANYWAYS - NMSbB was nice enough to message me back with very kind words reminding me that he's not used to my surroundings and what I may think is boring, he will think is interesting.

Back to reality.  I thought about it and decided I'd send him shots from my photo walk last weekend.

Here was his #2 shot 
No More Sideburn Bob - #2

And here's mine
Katzi - #2

Here's my finished product
Mash-up #2

Here's NMSbB's finished product
No More Sideburn Bob mash-up #2

I realized after I had processed this one, that this would've been so much better for the postcard effect than the last one. Don't get me wrong, the effect was pretty on the last one but I would have preferred to use it for this one. But you know, that's the beauty of this project: we can't get ideas for the photo until both photos have come in and we start processing them.

I used Image Blender, Cross Process and PicFx.  The effects turned out nice!  When I sent the photo, I had forgotten he had also done a facade so when I went to blend them, the bikes magically placed themselves on the grass.  How serendipitous!  And how weird are those phantom facades?  There's a road by my house that's been under construction FOREVER and I'm guessing these were demos for some development companies or something.  I'm not sure but they're weird and kind of pretty in their own way.

Here's a link to my set - which features the original and processed photos
Here's a link to NMSbB's set

Enjoy!

Wednesday, September 28, 2011

DIY: Bokeh Kit

Since I've been spending most of my time uploading videos today, I decided to take a gander over at Photojojo for some new goodies (like this time lapse camera I'm checking out).  The one item I kept going back to was the Bokeh Kit. I've been keeping a close watch on it and I finally declared: "I can do that!"

So, with videos running in the background, I got a paper cup that fit perfectly over my lens and cut it to a decent size.


Next, I grabbed some scrap paper from our plotting printer, cut the circle the same size as the bottom of the cup and cut a shape on the paper.


Luckily the scrap paper was already a dark colour on one side!

Next, I cut the bottom out of the paper cup and inserted one of my sweet cutouts


(This doesn't look quite as cute as the Photojojo kit but it works!)

I had to experiment A LOT to get a good idea of what it was supposed to look like and an office setting isn't quite the best for this...


I kept wondering if there was some sort of light source I could shoot that would give me the desired bokeh effect and it turns out - it was right in front of me (as always). I have a glitter lamp at my desk that I love to shoot all the time. I turned my lens towards it, messed with the settings and behold - little stars were appearing!


Then I messed with the flash!


Then I tired my Space Invaders cut out!


FAIL. So I went back to the stars!


I have no problem entertaining myself when I have to stare at progress bars all day!  Don't get me wrong - I'm totally working but I'm multitasking :)

AND - I'm not saying to not get the bokeh kit, I just wanted to see if I could do it.  I still might end up buying the kit (or asking for it for Christmas) but at least I know I can make them too!

EDIT:
I made a heart template!


I could do this forever...

Katzi
S.L.Y.A.S.D.I.