If you know me personally, you know that I like to make things. Whether it's
videos,
photos, characters, accessories, you name it - I LOVE making things. Lately I've been on a DIY kick and I'm really happy with what I've been turning out.
It all started with my
Killjoy outfit. I also got inspiration from other places/people like
Doe Deere Blogazine/Lime Crime,
Kelly Eden and
Raquel Reed. They are super fearless with their fashion choices and I have decided that I, too, would be a little more fearless. Well, I kinda let that happen when I dyed my hair pink.
But sadly, it's not pink anymore and I am deeply hurt by this every single time I look into the damn mirror.
My hair is back to black. It's a long, sad story but I'll spare you the details...
Long story short: my friend (who I used to trust with my hair) basically fucked it up. We spent ALL day bleaching and dyeing. Mind you, I'm not an expert in that field so I let him totally take over since he's the professional. 6 hours later, my hair was pinkish purpley black. The way he styled it was fine but there was a little too much black for my taste - especially since I had been rinsing the colour out for 2 weeks prior to more vibrant colour. ANYWAYS - the way he styled it involved LOTS of hairspray so when I washed the hairspray out the next morning, MOST of the colour went with it (except the black). I was devastated! I had a mini breakdown in the bathroom, sobbing and clutching some black hair dye I had bought a few months back. I didn't want to go back to black but I had no choice. I haven't told my friend that I went back to black because I'm afraid I will get angry at him for fucking my hair up to that point. I'll let it go.
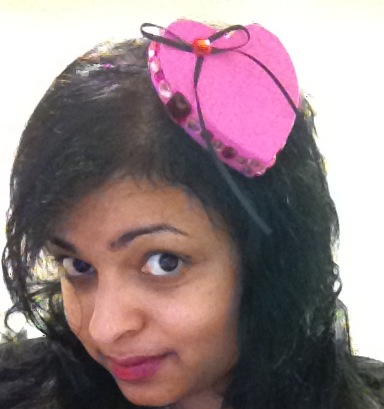
Whew. Now that that is off my chest, I can come back down to the original topic: DIY. I've been in love with the idea of tiny top hats and I finally purchased a black one at Wet Seal (of all places!). After that, I was hooked on making them out of tube boxes. I made a blue one for my oldest niece and a red one for my step-sister - both made out of cardboard cylinder boxes. The one I made for my youngest niece, I made from scratch with purple glitter foam. It kind of looked like a pilgrim hat but I put some pyramid studs on it and it was fine. The tutorial that started that making frenzy was
this one. I forget how I stumbled on to this blog because I'm not that big of an Audrey fan-but after seeing this tutorial, I was a big time Audrey DIY fan. She has some pretty clever ideas for sprucing stuff up. This project called for a heart box lid. I had the lid
painted and finished but what about the rest of the box? Sure, it was a little tall but what did that matter? I made another heart piece with the bottom part of the container but I used more colours and added some lace.
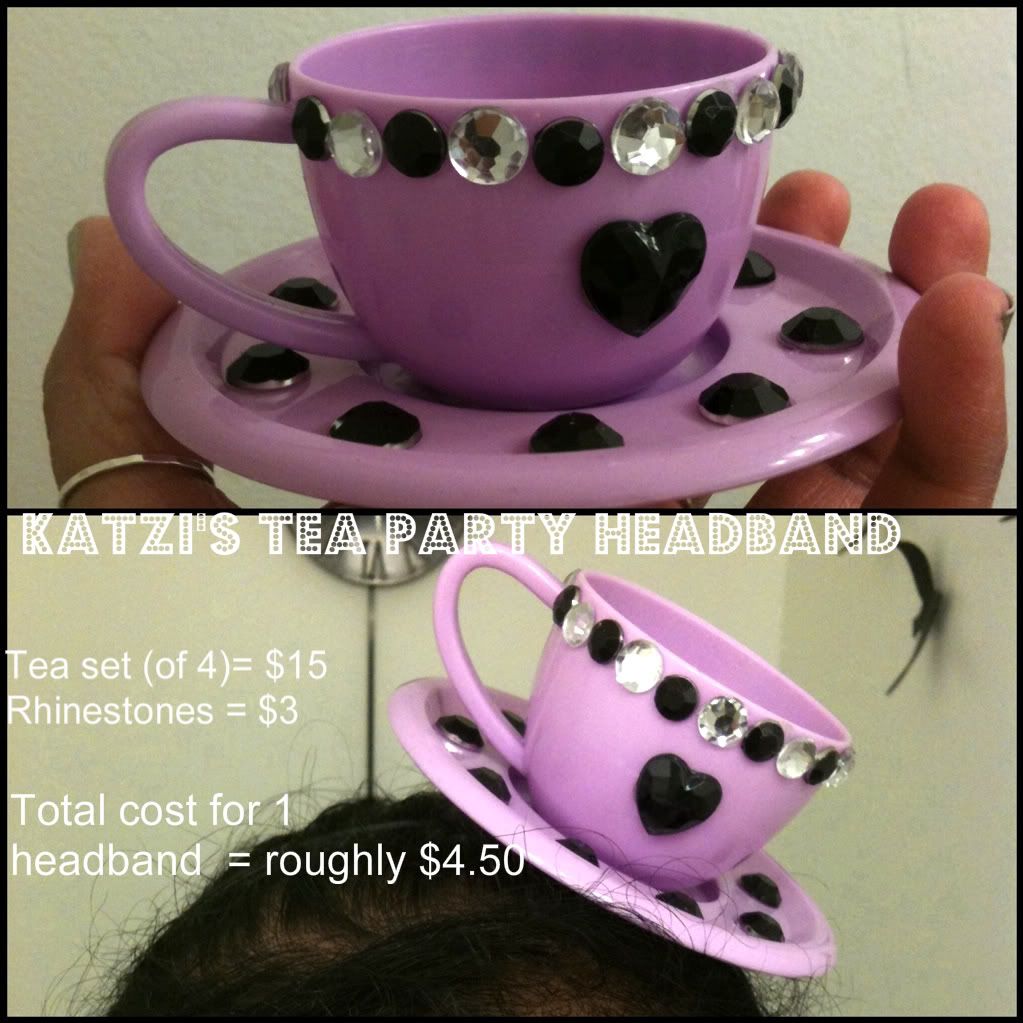
Then I went totally crazy! I bought wooden stars and hearts, more boxes, different shapes, an insane amount of rhinestones and even a tea set. Why a tea set? So I could recreate
this!!! How cute!!
I was also insanely inspired by the piece Kelly Eden is wearing
here. I LOVE IT!!! Of course, I have to do my own version of it because what good is a direct copy? And there's always a sense of accomplishment when you do things for yourself.
I hear some girls say things like, "Oh, I need a man to (blank)" and that really hurts my heart. Sure, I've been guilty of that many times but growing up with two Moms has taught me a lot of things - including: it's better when you do it yourself! There's no shame in making something if you know the cost of materials will be cheaper than actually buying the thing.
Example: the tea party headband.

The tea set is a set of 4 plus a tea pot and other containers and the rhinestones come in large groups, so I divided the $15 for the tea set by 4 and I only used a fraction of these particular rhinestones. That's how the $4.50 came about. I know it's not exactly the same but that's the point. I saw the tea cup headband, wanted it and now, I have it. Done and done. And I can make 3 more! It's so much better when you DIY!
Do you have any special or favorite DIY projects you've been working on? I'd love to see them!
Love and kisses,
Katzi
S.L.Y.A.S.D.I.